
Part 3: Papermaking (and 1 origami)
I only did three handmade paper projects because I wasn't sure they would even work after being encased in wet pulp for several hours. And then there's the issue of having a power source. Like it just couldn't be enough that I want them to light up. In fact, this is my second biggest problem: how to incorporate the battery as a cohesive design unit. (My first is actually understanding this whole electronics world.) I did not achieve this goal with these items .... yet. I must plead dwindling time and a desire to share at Maker Faire for the provisional connection. (Yes, again. At least I didn't use "prototype" this time.)
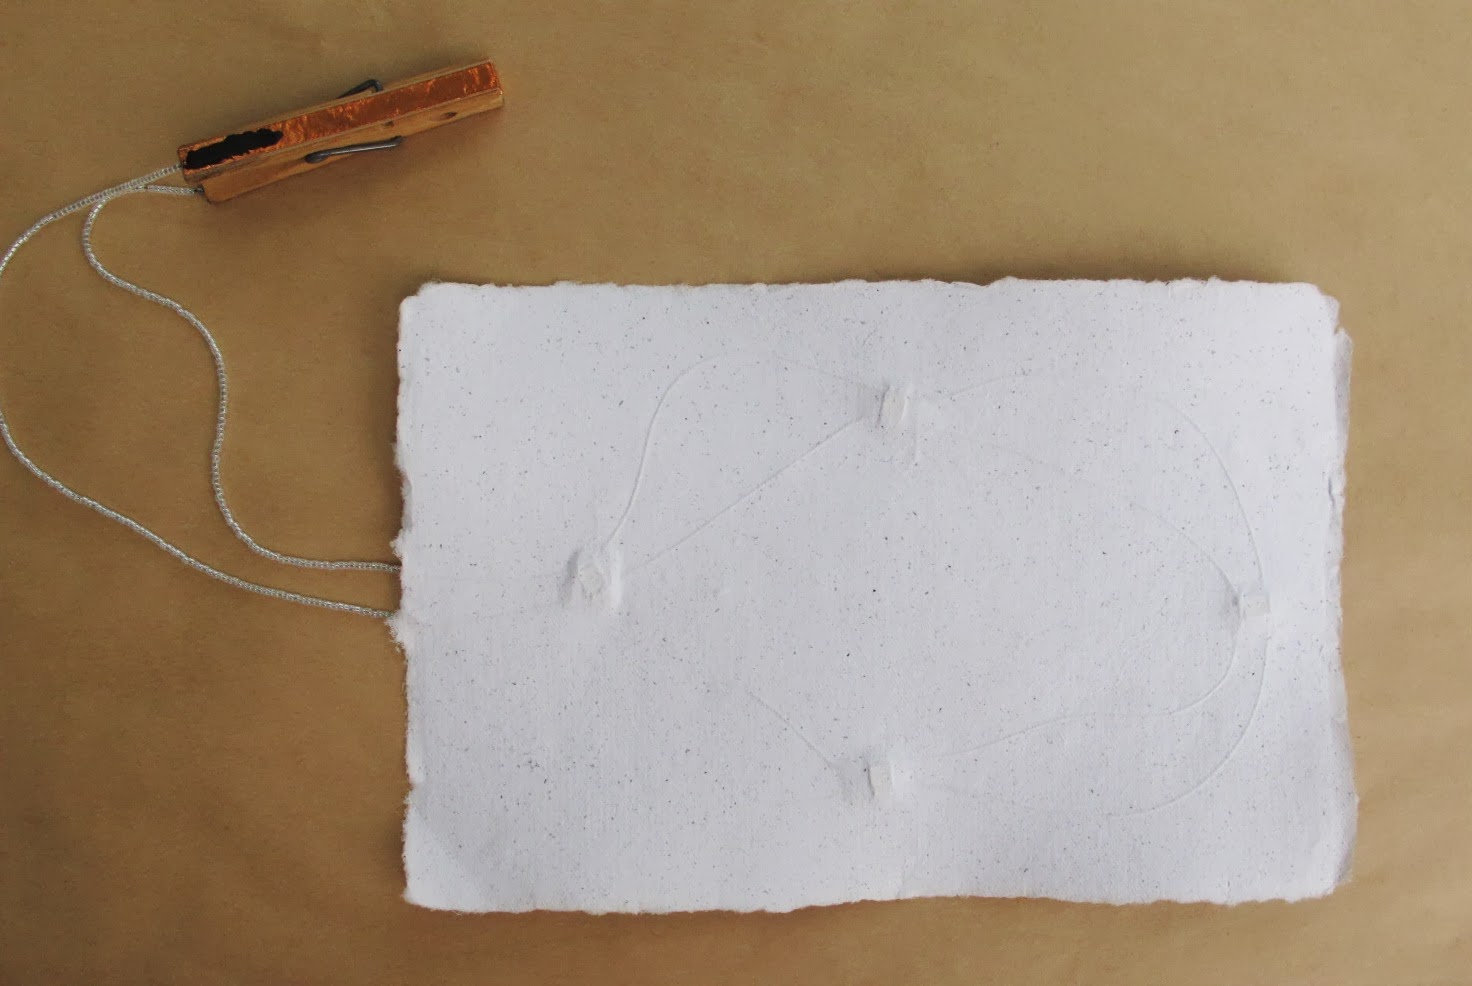
However, the battery holder I used is a very simple, clever and brilliant connection that Hannah Perner-Wilson shared on her web site. My adaptation was to use Bare Conductive Electric Paint to "glue" the conductive thread onto the copper tape.

I used surface mount LEDs onto which I soldered tube crimps (the kind used in jewelry making). I then used conductive thread to loop through the tubes, being very mindful to keep all the positive sides on one thread and all the negative ones on the other. It was helpful that the LEDs I used had a little notch on its negative side. I also made sure that the positive side thread was longer at the end (the part coming out of the paper) to cue me, just like a bulb LED's positive "leg" is longer.

The basic procedure is: make LED and thread circuit; pull a sheet of paper; lay down thread circuit, making sure threads do not cross or touch each other; pull another sheet of paper and lay on top to sandwich the circuit; let dry on glass or non-porous surface.
I don't have a professional paper making set-up. I used Arnold Grummer's frames and screens and my couch sheets are fabric interfacing. The pulp was made from office paper printouts no longer useful/wanted. (I keep them around for when I do gluing.)
Learning from my mistakes, I placed beads on the threads before attaching the clothespin battery holder to act as insulators. I didn't do that with the following sheet of paper and I had to be very careful not to have the threads touch each other thereby creating a short circuit.

I could say I didn't feel like soldering those |)4^^|V crimp tubes on those |=V(|<ing tiny SM LEDs again, even though it's the truth. Instead, I'll say I wanted to try another design feature by using bulb type LEDs, which is also the truth but makes me seem more adventurous rather than lazy.

The procedure was basically the same except that for the LED and thread circuit path, I bent and coiled the legs of the LEDs and the thread was wrapped around these coils. When the second sheet was put on top, I used my fingers to poke the bulbs through and then sort of patted the pulp around it. I didn't even try to make it smooth for reasons mostly centering around the fact that I did not have any pharmaceuticals around when I would most assuredly go over the compulsive smoothing-out ledge. However, my official reason is "to incorporate texture as a design element".

This sheet was made this way so it could be cut down and folded into a simple origami koala face. I made the structure with plain paper to figure out where the eyes would be and then, when making the paper, placed the LEDs in approximately the same area. I used red "eyes" because I knew the paper would probably end up looking like intended an evil koala. (See how that works?)
Origami tulip

I wanted to see if I could use the copper tape paper circuit technique with an origami structure. I wanted to do a dragon but the patterns I found had too many fold and I couldn't figure out how to add the copper tape, LEDs and battery (damn that battery!). Even with the tulip structure I found, it took me a while to figure out how to make it work. I'm not saying it's difficult, just not so easy for me (and once you see it, you'll wonder what my problem was, but let's not judge).
But I did it!


The patten is from the book "The Origami Handbook" by Rick Beech and was designed by Kunihiko Kasahara.
I wanted to make it so when you pressed at a certain spot, the circuit would close and light up the LED. Then, you could use a clip to keep it on if you wanted. Like so:

And here's what the circuit looks like inside:


I think origami structures have a lot of potential with the copper tape paper circuit technique. Although, for me, the key seems to be structures without too many folds or, at least, the path for the circuit can't have many folds.
My hero, Jie Qi, has done some work using origami structures and flexinol wire. Check out her impressive flexinol wire paper circuit origami crane. I dare you to tell me you don't want to do the same thing even if you don't know WTF is going on.
If you have any questions about my projects, please don't hesitate to ask me either in the comment section or using the "Send me an email!" widget that Blogger has very usefully supplied.
No comments:
Post a Comment